Homelab, how to go about it.
We’ve all been there at least once, if you are like me, many times! A lot of cool ideas, the brain crunching a lot of different layouts, configurations, application and networking deployments and in the end you are stuck staring at the screen on the ebay / aliexpress / shady websites listings to find the best fit for your needs and the best bangs for your bucks.
And i am exactly there.
Therefore i thought, why not going through a design process, why not to write about this in the first place in a structured way, a little bit like this:
- Set the target
- Deisgn the architecture and the general layout
- Bill of materials
- Purchase
- Test the parts
- Install and setup
- Deploy
- Test again, but the deployement
- Improve
- Back to 7.
Let’s break those steps into more details:
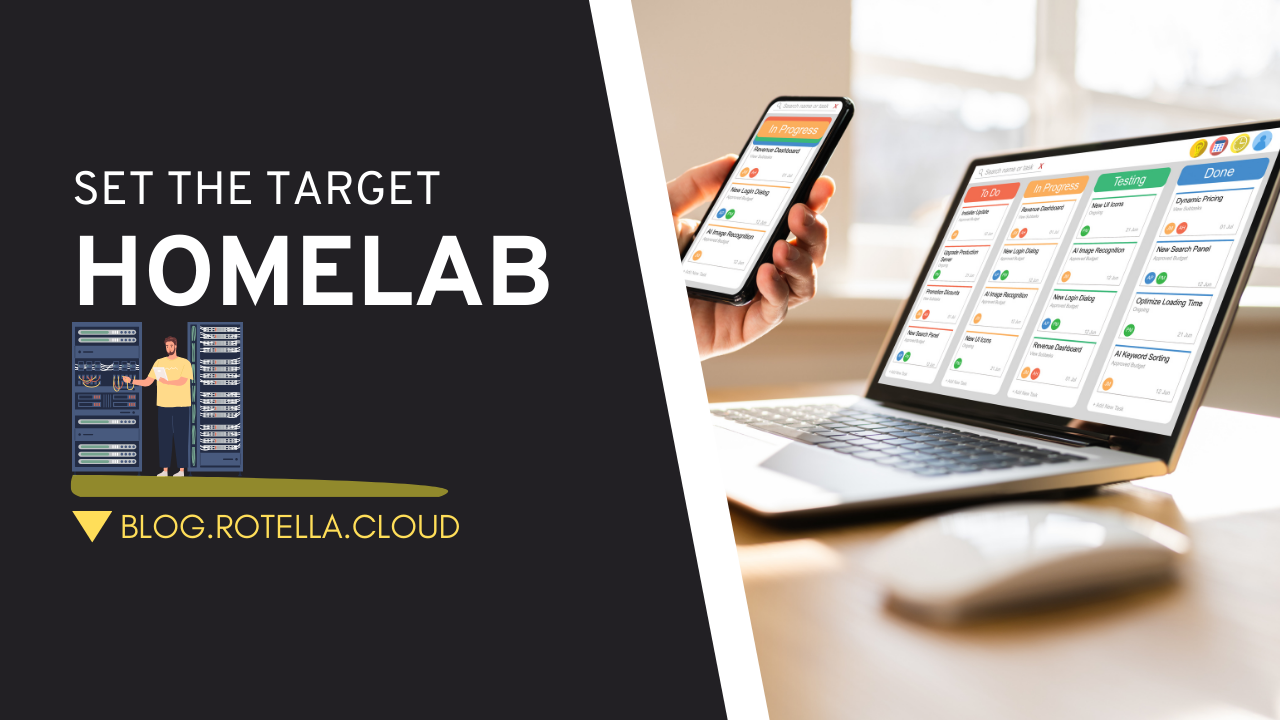
1. Set the target
It’s hard for me to proceed in an organic way when the target is not clear. I tend to get new ideas every now and then and to rework my original plan on and on, in an endless loop. By setting the target and writing it to a document i ensure commitment to the original plan and work the next steps accordingly. Eventually i can review the orignal plan and adapt the entire process accordingly but in a more consistent way.
2. Deisgn the architecture and the general layout
Once the targets are clear, i can work my plan and layout the architecture of the system. This step is crucial as here i see my ideas take shape. It is very helpful in this step to sketch diagrams and take notes in the very firts place, just to rationalize and clean everything up as i go. This process might take several days or weeks but in the end i will have a clear picture of what things will look like in the end.
3. Bill of materials
Now it’s time to build the bill of materials. At this point i shoud be confident enough on what i need to achieve the target and deploy the architecture that i had in mind, that it should be fairly easy to list the items that i need and the quantity of each of them. For many of the item i should be able to roughly estimate the cost and therefore start budgeting the total build cost.
4. Purchase
Now it’s the trickiest part: find and buy all the parts. First choice: buy new or used. Easy decision for me, being on tight budget i will do my best to find used or refurbished parts. The market is full of those and from refurb or used business computer we can build nice and cheap home labs. One can also buy from the chinese markets places (N100, N305 and similar NAS / Router boards or pc as well as some X99 Xeon mobo etc) or, if the budget is very high one can buy new parts from the big brands (Supermicro, HP, Lenovo, Dell, Cisco, Unifi etc).
5. Test the parts
Especially if you buy used or chinese parts, you want to do your homework and test all of them before actually starting any real work, it will save you headaches later. It’s boring and might seem unecessary, but trust me.
6. Install and setup
Now that everything is working as expected, we can start putting everything together, RAM, disks, networking, ups, and install the operating system as well as doing the elementary tasks, such as upgrading, setting up IPs, hostnames, labeling, and of course a good backup / snapshot of the system in their clean, original state.
7. Deploy
Time to start the rage! Once all the prerequisites are set, we can start the deployment of our apps and services. There are several ways of doing that and if you want to learn and put your skills to the test, you better do the deployment with some sort of Infrastructure as code (IaC) or automatic provisioning such as Terraform, Ansible, Pulumi, Chef, Puppet or if you go the containerization way, Docker Compose, Docker Stack / Swarm, or even Kubernetes. Let’s evolve from the SysAdmin towards the DevOps way of doing things.
8. Test again, but the deployement
Now that your entire (or perhaps partial) deployment is up and running, homework again. Test your system, make sure that everything works, including backup and recovery strategies, especially if what you have built will be used by your family…
9. Improve
Now that everything is stable (or so) it’s time for improvements, or to say it differently, to break stuff and spend endless hours fixing it all again. But hey, this is the beauty, never settle, be always thrilled by the new updates, new technology, new project that do the exact same thing but differently.. but please, play safe, have snapshots or backup and be always ready to restore the last working known configuration when the sun starts to rise and you are still sweating in front of your desk.
10. Back to 7.
You see? It’s a circle, now that we have improved, we need to deploy the new setup, make sure it works and in some time come back here to break stuff again. Trust me, the fun is here, between 7 and 10.